4. Prep Your Data.
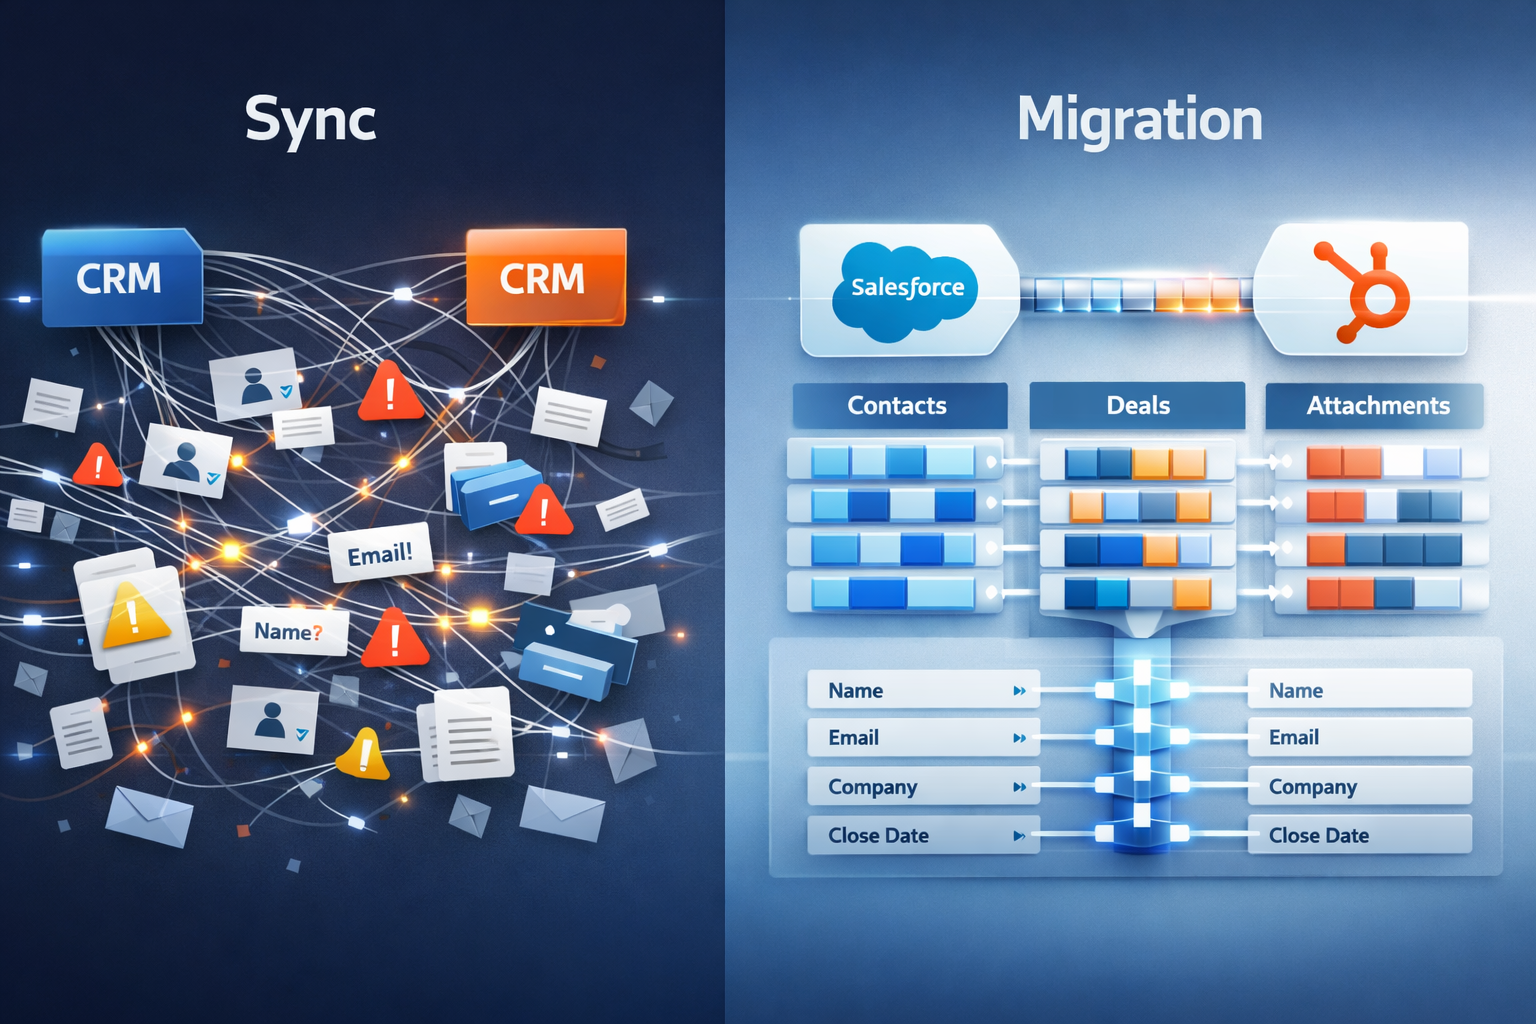
Now is the time to determine if you have files you don’t need, out of date, duplicate, or otherwise unnecessary. Take this time to clean up your portal, ensuring you’re not transferring the “mess” from one location to another:
- Invalid email addresses
- Missing addresses or phone numbers
- Assigning records to an owner
- Closing out lost opportunities
- Purging untouched or lost leads
- Missing or misspelled contact names
- Empty cells for mandatory fields
Tip: Talk to the team dealing with the data, review records, determine what stays and what goes. With most cloud-based and third-party vendors charging per migrated record, the fewer entities you migrate – the less you’ll have to pay.
Consider outsourcing data cleanup to your third-party vendor to avoid time and resource constraints. Define the criteria you want your data filtered with, and they handle the rest. While this may add a small cost, it can save significant time and headaches.
5. Back up your data.
This simple yet crucial step ensures you plan if things don’t go as intended.
6. Prep your new CRM database.
- The fields/properties you need to accommodate your incoming data (add a custom field for new data you haven’t previously stored)
- If you are mapping a dropdown field, make sure that the options in your file also exist in your database to avoid an error.
- Ensure the format of the data in your import matches the field types in your database (date formats, currency, etc.)
- Capture all users (if you have “owner” data included in your import, make sure those people are in your database)
- Disable any potential validation rules, workflows, or triggers that will impact your import.
- Turn off notifications (if applicable.)
6. Determine a cut-off date/timing.
- Get the team onboard when you no longer input data in the old CRM.
- Turn off Notifications before starting the migration to prevent your end-users and admins from bombarding emails.
- Turn off Phone duplication, if applicable, to avoid errors.
7. Test, Re-Test, Test Again.
Conduct data migration testing to check for errors or inaccuracies. Consider a free sneak-peek into how things will look like at the end. Like Trujay’s Wizard, some demo migrations offer an essential step to take before initiating the actual transfer.
The process is entirely free and happens pretty quickly. If something doesn’t align correctly, you can return to mapping, make the needed adjustments, and return to demo. You can repeat the trial several times if needed until you get the perfect results.
Contact your support team immediately if you notice something out of place during the transfer. No matter how tempting it is to try and fix things yourself, any modifications on your side can lead to inevitable changes, requiring hours to find a solution versus something that could be resolved within minutes.
Finally, check that data is preserved.
Only when you’re delighted with the outcome proceed further. However, if you notice something out of place, take the necessary steps internally — or contact your support team. While this migration checklist is only a guideline for success, working with a migration partner or tool with support is always a way to ensure success from the start with your new CRM.


